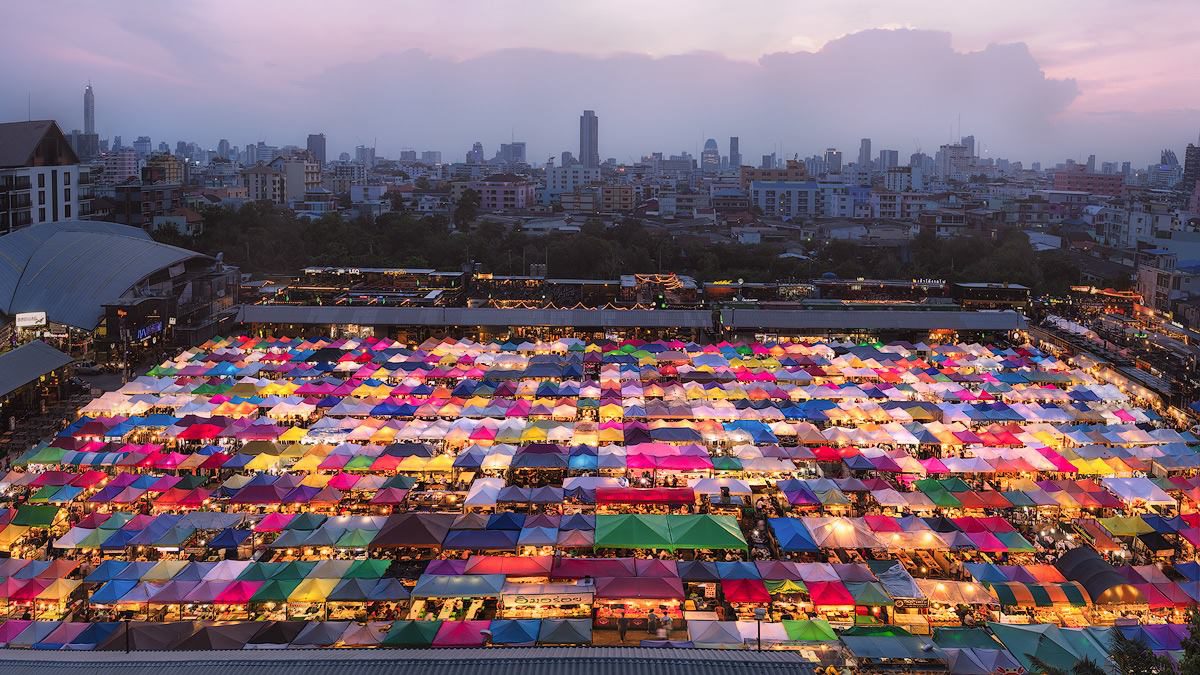
One of the most common questions I get is about how to edit/process photos, especially in Adobe Lightroom. While some photographers try to get their image exactly how they want it right out of camera, a photo isn’t finished until it gets some digital darkroom magic. Here is my answer to a question I got from Karl Gendron (@Karl_Gendron) in Montreal, Quebec:
Question: I’ve been working really hard the last months to improve my skills, especially with editing and composition. My questions are about your editing workflow: Do you add a lot of contrast? Lower highlights? Increase shadows and whites, lower blacks? Lower clarity or increase it? Do you add more vibrance but lower saturation, or don’t touch at all?
Answer: Thanks for your question Karl. First, you should know that Lightroom is only the start of my workflow. If you are trying to get the same look I have in my photos, you’ll need more than just Lightroom.
For instance, my first step is always to import into Lightroom and make some basic edits. My second step is to import into Photoshop and continue to edit there. Ps edits usually include adding filters from Nik Efex (like Pro Contrast, Tonal Contrast, and maybe Skylight Filter, Glamour Glow, etc.).

Also, if the dynamic range, the difference between the darks and lights, is very high, like when I shoot into the sun or a cityscape at blue hour, I will also do some digital blending. Jimmy McIntyre has loads of free videos on YouTube if you want to learn about luminosity masks. I also recommend his Raya Pro action panel or Tony Kuypers TKActions panel.
But don’t get too concerned with all that other stuff. For years I only used Lightroom and Nik Efex. Lightroom is a powerful tool by itself. Take time to learn it well before you jump to the next thing. So to answer your Lightroom questions –
My Lightroom Workflow Recipe
Contrast: I almost always add some contrast. I usually move the contrast slider between 5-20. But I tend to adjust the whites and blacks more than the contrast. You have more control that way.
Highlights: I often lower highlights. Usually not more than 30-40 though if I can help it. It’s good to have some highlights, as long as they aren’t too over exposed. And if the highlights are dull, I increase at times.
Vibrance: I like vibrance more than saturation. I increase vibrance 15-25 or sometimes a little more. I increase saturation mostly up to say 3 but rarely more than 5. It starts to look too fake after that. Again, it really depends on each photo.
Tone Curve: I do use the tone curve at times. But usually the sliders under the tone curve since they’re not as intense as the other ones.
HSL Sliders: I use them often. For instance, if the sky is light blue, I might increase the saturation and even hue to get a deep blue sky. Also, if a color is off by too much or I want to give it less importance, I’ll desaturate it. I think the HSL sliders are one of the most powerful tools available in Lr.
Split Toning: I use it often. Mostly to add magenta to the shadows. Here’s an article I wrote for Digital Photography School about it: How to Use Split Toning to Make Your Photos Stand Out.
Sharpening: Yes, always! I put the sliders up to around 40. Masking? To be honest I’m not sure how that works but I’m going to check it out. 🙂 In the past I also used the sharpening in the NIK Efex collection. I also wrote an article about that: How to Sharpen Your Photos Using Ligtroom & Nik Efex.
These days though I stopped sharpening with the Nik Output Sharpener though. I’m using the Tony Kuyper sharpen action in his TKActions panel for Photoshop.
Lens Correction: Enable Profile Corrections is the first thing I do after importing to Lightroom. I select the camera and lens I’m using if Lr doesn’t find it automatically.
However, I don’t always apply my camera/lens profile. The reason is that some parts of the photo can get cropped out. It’s really a case by case basis. The next thing I turn on is “remove chromatic aberration”. That’s about it. I never touch Camera Calibration.
Bonus Photo Editing Tips
You can download the entire Google NIK Collection for free. I mostly use Color Efex Pro but sometimes Analog Efex, Silver Efex, Viveza, Dfine for removing noise, and Sharpener Pro.
Also, if you’re wondering how someone edited their photo in Lightroom, there’s a site called Pixel Peeper that shows how it was done. Here’s an article on Petapixel that explains it: This Website Reveals How JPEG Photos Were Edited in Lightroom. As someone commented though, it really doesn’t help much though if you can see what the original file looked like.
What is your editing workflow? Do you use Lightroom or something else? Let me know in the comments below.

Leave a Reply